Transferring samples to the P-6
You can transfer the samples shown in the transfer list to the P-6 by clicking the [TRANSFER] button on the main screen.
- Drag and drop a sample (audio file) stored on your computer to a sample pad [1]–[6].
- The sample name (name of the audio file to be imported) and size are shown in the sample pad columns corresponding to that transfer destination sample pad’s number.
- Click the [TRANSFER] button.
- The sample shown in the transfer list is transferred to the P-6.
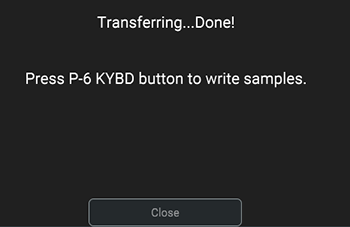
- Once the transfer is complete, the message “Transferring...Done!” is shown.
- Eject the P-6 drive (terminate the connection) from your computer.
MEMO
See the owner’s manual for your computer or operating system for how to eject the P-6 drive from your computer.
- Press the [KYBD] button on the P-6.
- The sample is written to the P-6.
- When the “donE” appears on the P-6, turn the P-6 off and then on again.
MEMO
- It may take some write the samples to the P-6.
The step buttons light up to show the write progress. - Data that’s too large to be stored in the sample pads is not loaded.