Configuring the effect control
- Select “STRAINER” on the KIT OTHERS screen, and then press the [ENTER] button.
- Press the [F1] (LEVER) button.
- The STRAINER - LEVER screen appears.
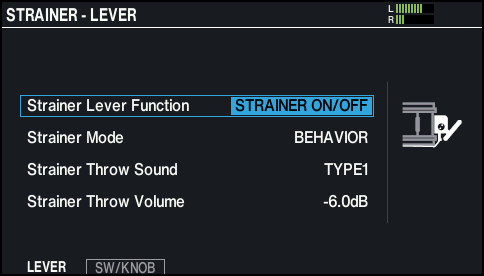
- Move the cursor to Strainer Lever Function, and use the [-] [+] buttons or the dial to select “FX CONTROL”.
- Press the [F3] (FX CTRL) button.
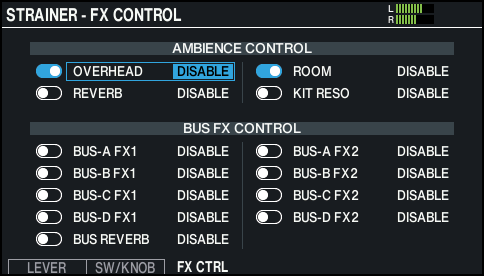
- The STRAINER - FX CONTROL screen appears.
MEMO
The switches indicate the on/off status for the current effect.
- Use the cursor buttons to select a parameter, and use the [-] [+] buttons or the dial to edit the value.

Value
Explanation
DISABLE
No effect is controlled.
LEVER ON
The effect turns ON when the strainer lever is set to the ON position.
LEVER OFF
The effect turns ON when the strainer lever is set to the OFF position.
- Effects that can be controlled
Parameter
Explanation
AMBIENCE CONTROL
OVERHEAD
Overhead mic
ROOM
Room ambience
REVERB
Reverb
KIT RESO
Kit resonance
BUS FX CONTROL
BUS-A FX1
BUS-A FX1 effect
BUS-A FX2
BUS-A FX2 effect
BUS-B FX1
BUS-B FX1 effect
BUS-B FX2
BUS-B FX2 effect
BUS-C FX1
BUS-C FX1 effect
BUS-C FX2
BUS-C FX2 effect
BUS-D FX1
BUS-D FX1 effect
BUS-D FX2
BUS-D FX2 effect
BUS REVERB
Reverb applied to the bus
- Press the [KIT] button to return to the KIT screen.