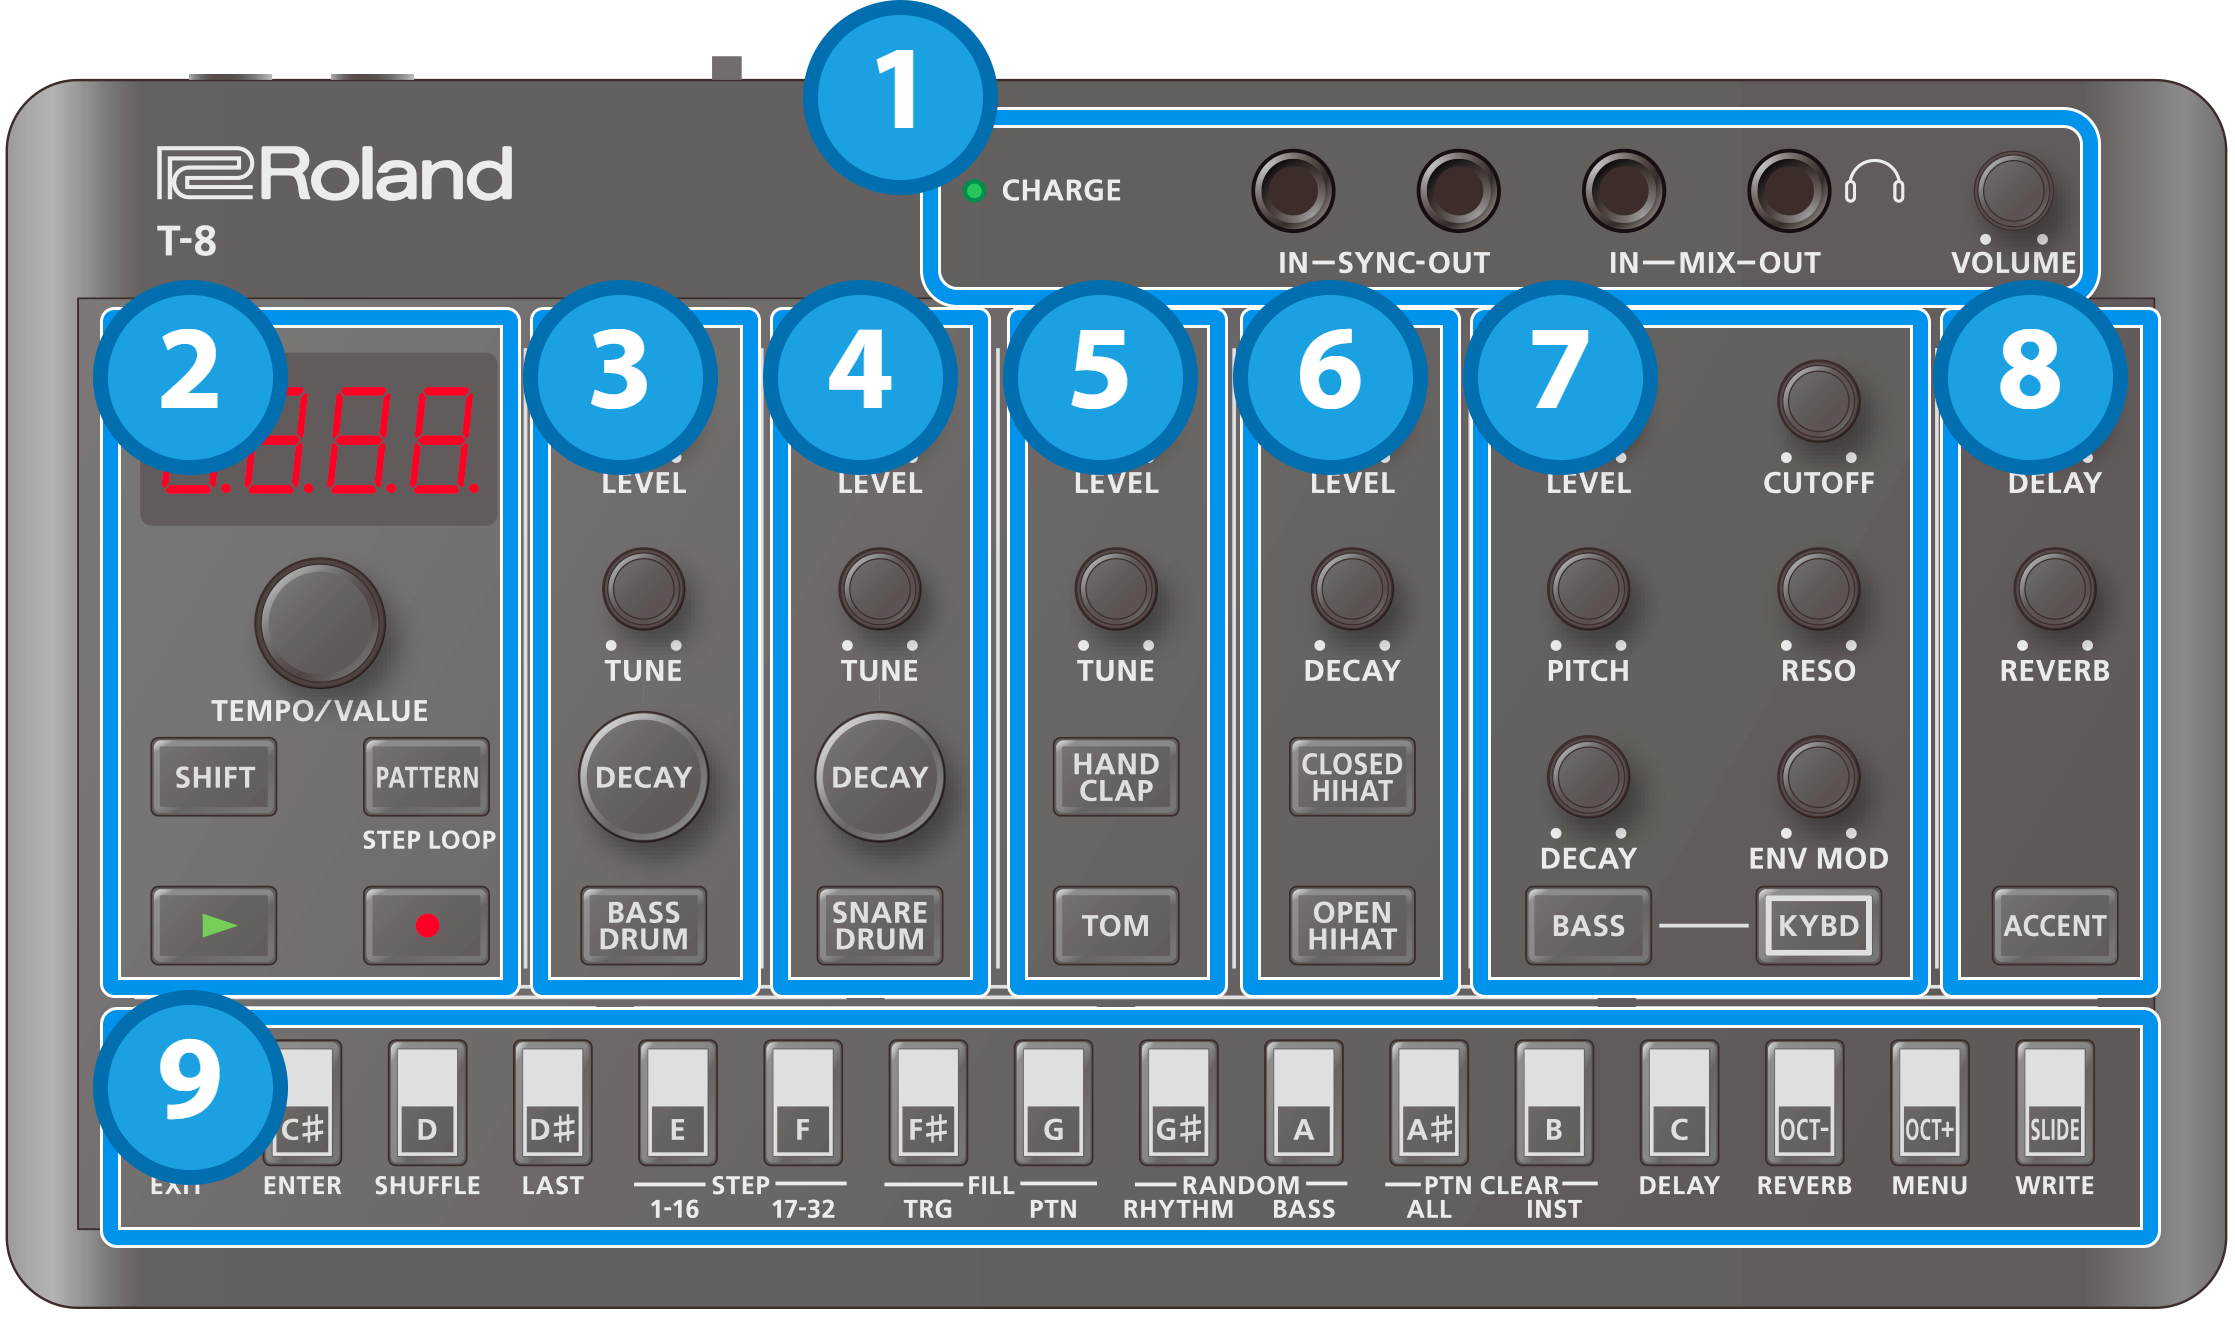
1. Jacks
Controller |
Explanation |
|---|---|
| CHARGE indicator |
When charging via USB port: |
When not charging via USB port:
|
|
| SYNC IN jack | Use this jack to input synchronization signals from an external device. |
| SYNC OUT jack | Use this jack to output synchronization signals to an external device. |
| MIX IN jack | This is the audio input jack. |
| MIX OUT jack | This is the audio output jack. |
| [VOLUME] knob | Adjusts the volume of audio coming from the MIX OUT jack. |
- Use cables with monaural mini phone type plugs to connect to/from the SYNC IN/OUT jacks. Do not use cables with stereo mini phone type plugs, as these cables do not work.
- Do not connect an audio device to the SYNC OUT jack. Doing so may cause a malfunction.
- If an external device is connected to the SYNC IN jack, the unit synchronizes with the clocks inputted to the SYNC IN jack, regardless of the MIDI Clock Sync setting.
- Use cables with stereo mini phone type plugs to connect to/from the MIX IN/OUT jacks. Do not use cables with monaural mini phone type plugs, as these cables do not work.
2. Common
Controller |
Explanation |
|---|---|
Display |
This is a four-digit, seven-segment LED display. |
| [TEMPO/VALUE] knob | Changes the values shown in the display. |
[SHIFT] button |
Use this in combination with other controllers. |
[PATTERN] button |
Switches the unit to pattern selection mode. |
[ø] (PLAY) button |
Plays the pattern. |
| [ó] (REC) button | Switches the unit to recording standby. |
3. BASS DRUM
Controller |
Explanation |
|---|---|
| [LEVEL] knob | Adjusts the bass drum volume. |
| [TUNE] knob | Adjusts the pitch. |
| [DECAY] button | Edits the function controlled by the [TUNE] knob. |
| [BASS DRUM] button (instrument button) | Selects the bass drum. |
4. SNARE DRUM
Controller |
Explanation |
|---|---|
| [LEVEL] knob | Adjusts the snare drum volume. |
| [TUNE] knob | Adjusts the pitch. |
| [DECAY] button | Edits the function controlled by the [TUNE] knob. |
| [SNARE DRUM] button (instrument button) | Selects the snare drum. |
5. TOM/HAND CLAP
Controller |
Explanation |
|---|---|
| [LEVEL] knob | Adjusts the volume for both the toms and the hand clap. |
| [TUNE] knob | Adjusts the pitch of the selected instrument. |
| [HAND CLAP] button (instrument button) | Selects the hand clap. |
| [TOM] button (instrument button) | Selects the tom instrument. |
6. HIHAT
Controller |
Explanation |
|---|---|
| [LEVEL] knob | Adjusts the volume of both the open and closed sounds. |
| [DECAY] knob | Adjusts the decay length of the hi-hat sound. |
| [CLOSED HIHAT] button (instrument button) | Selects the closed hi-hat. |
| [OPEN HIHAT] button (instrument button) | Selects the open hi-hat. |
7. BASS
Controller |
Explanation |
|---|---|
[LEVEL] knob |
Adjusts the bass volume. |
[PITCH] knob |
Adjusts the pitch. |
[DECAY] knob |
Adjusts the decay length. |
[CUTOFF] knob |
Adjusts the cutoff frequency, which determines the brightness of the sound. |
[RESO] knob |
Adjusts the harmonics around the cutoff frequency. |
[ENV MOD] knob |
Adjusts the intensity of time-based change to the cutoff frequency. |
[BASS] button (instrument button) |
Selects the bass. |
[KYBD] button |
While this is on, you can use the keyboard buttons to play the bass. |
8. DELAY/REVERB/ACCENT
Controller |
Explanation |
|---|---|
| [DELAY] knob | Adjusts the delay volume. |
| [REVERB] knob | Adjusts the reverb volume. |
| [ACCENT] button | When you select this while a rhythm instrument is selected, an accent is set for the rhythm part. |
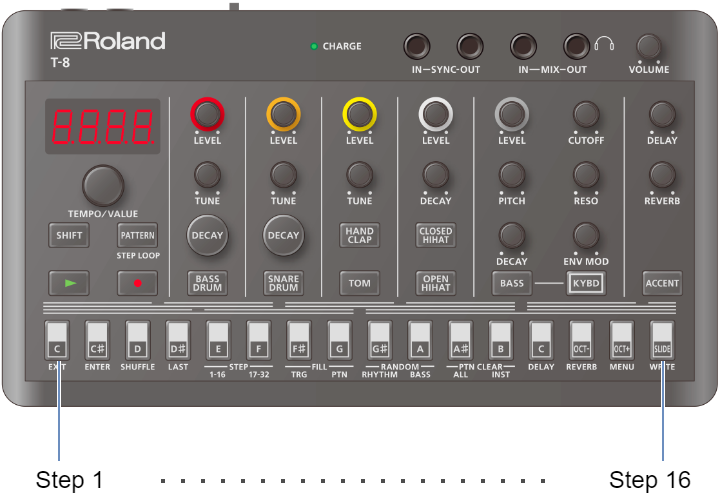
9. Step buttons
| Controller | Explanation |
|---|---|
| Step buttons |
Using for switching patterns and banks, and inputting rhythm and bass.
|