- During livestreaming, you can view the comments of people who are viewing the contents by checking the Comment window in the AeroCaster LIVE app.
Getting ready
|
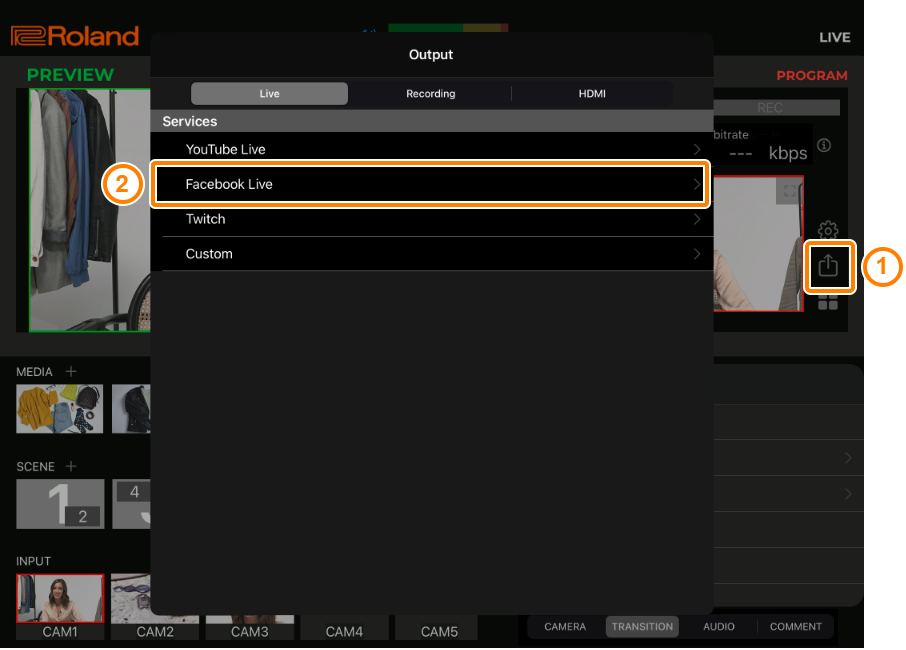
Tap
 (Output) and select “Facebook Live” from the platform list.
Tap “Login”.
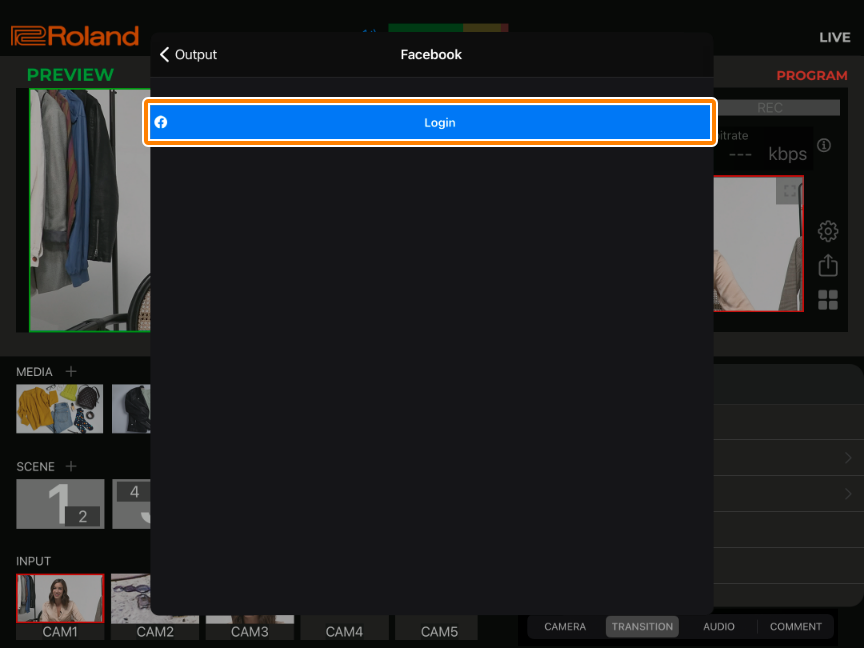
- If a confirmation dialog box for sign-in appears, tap “Continue” to go to the next screen.
Log in to your Facebook account.
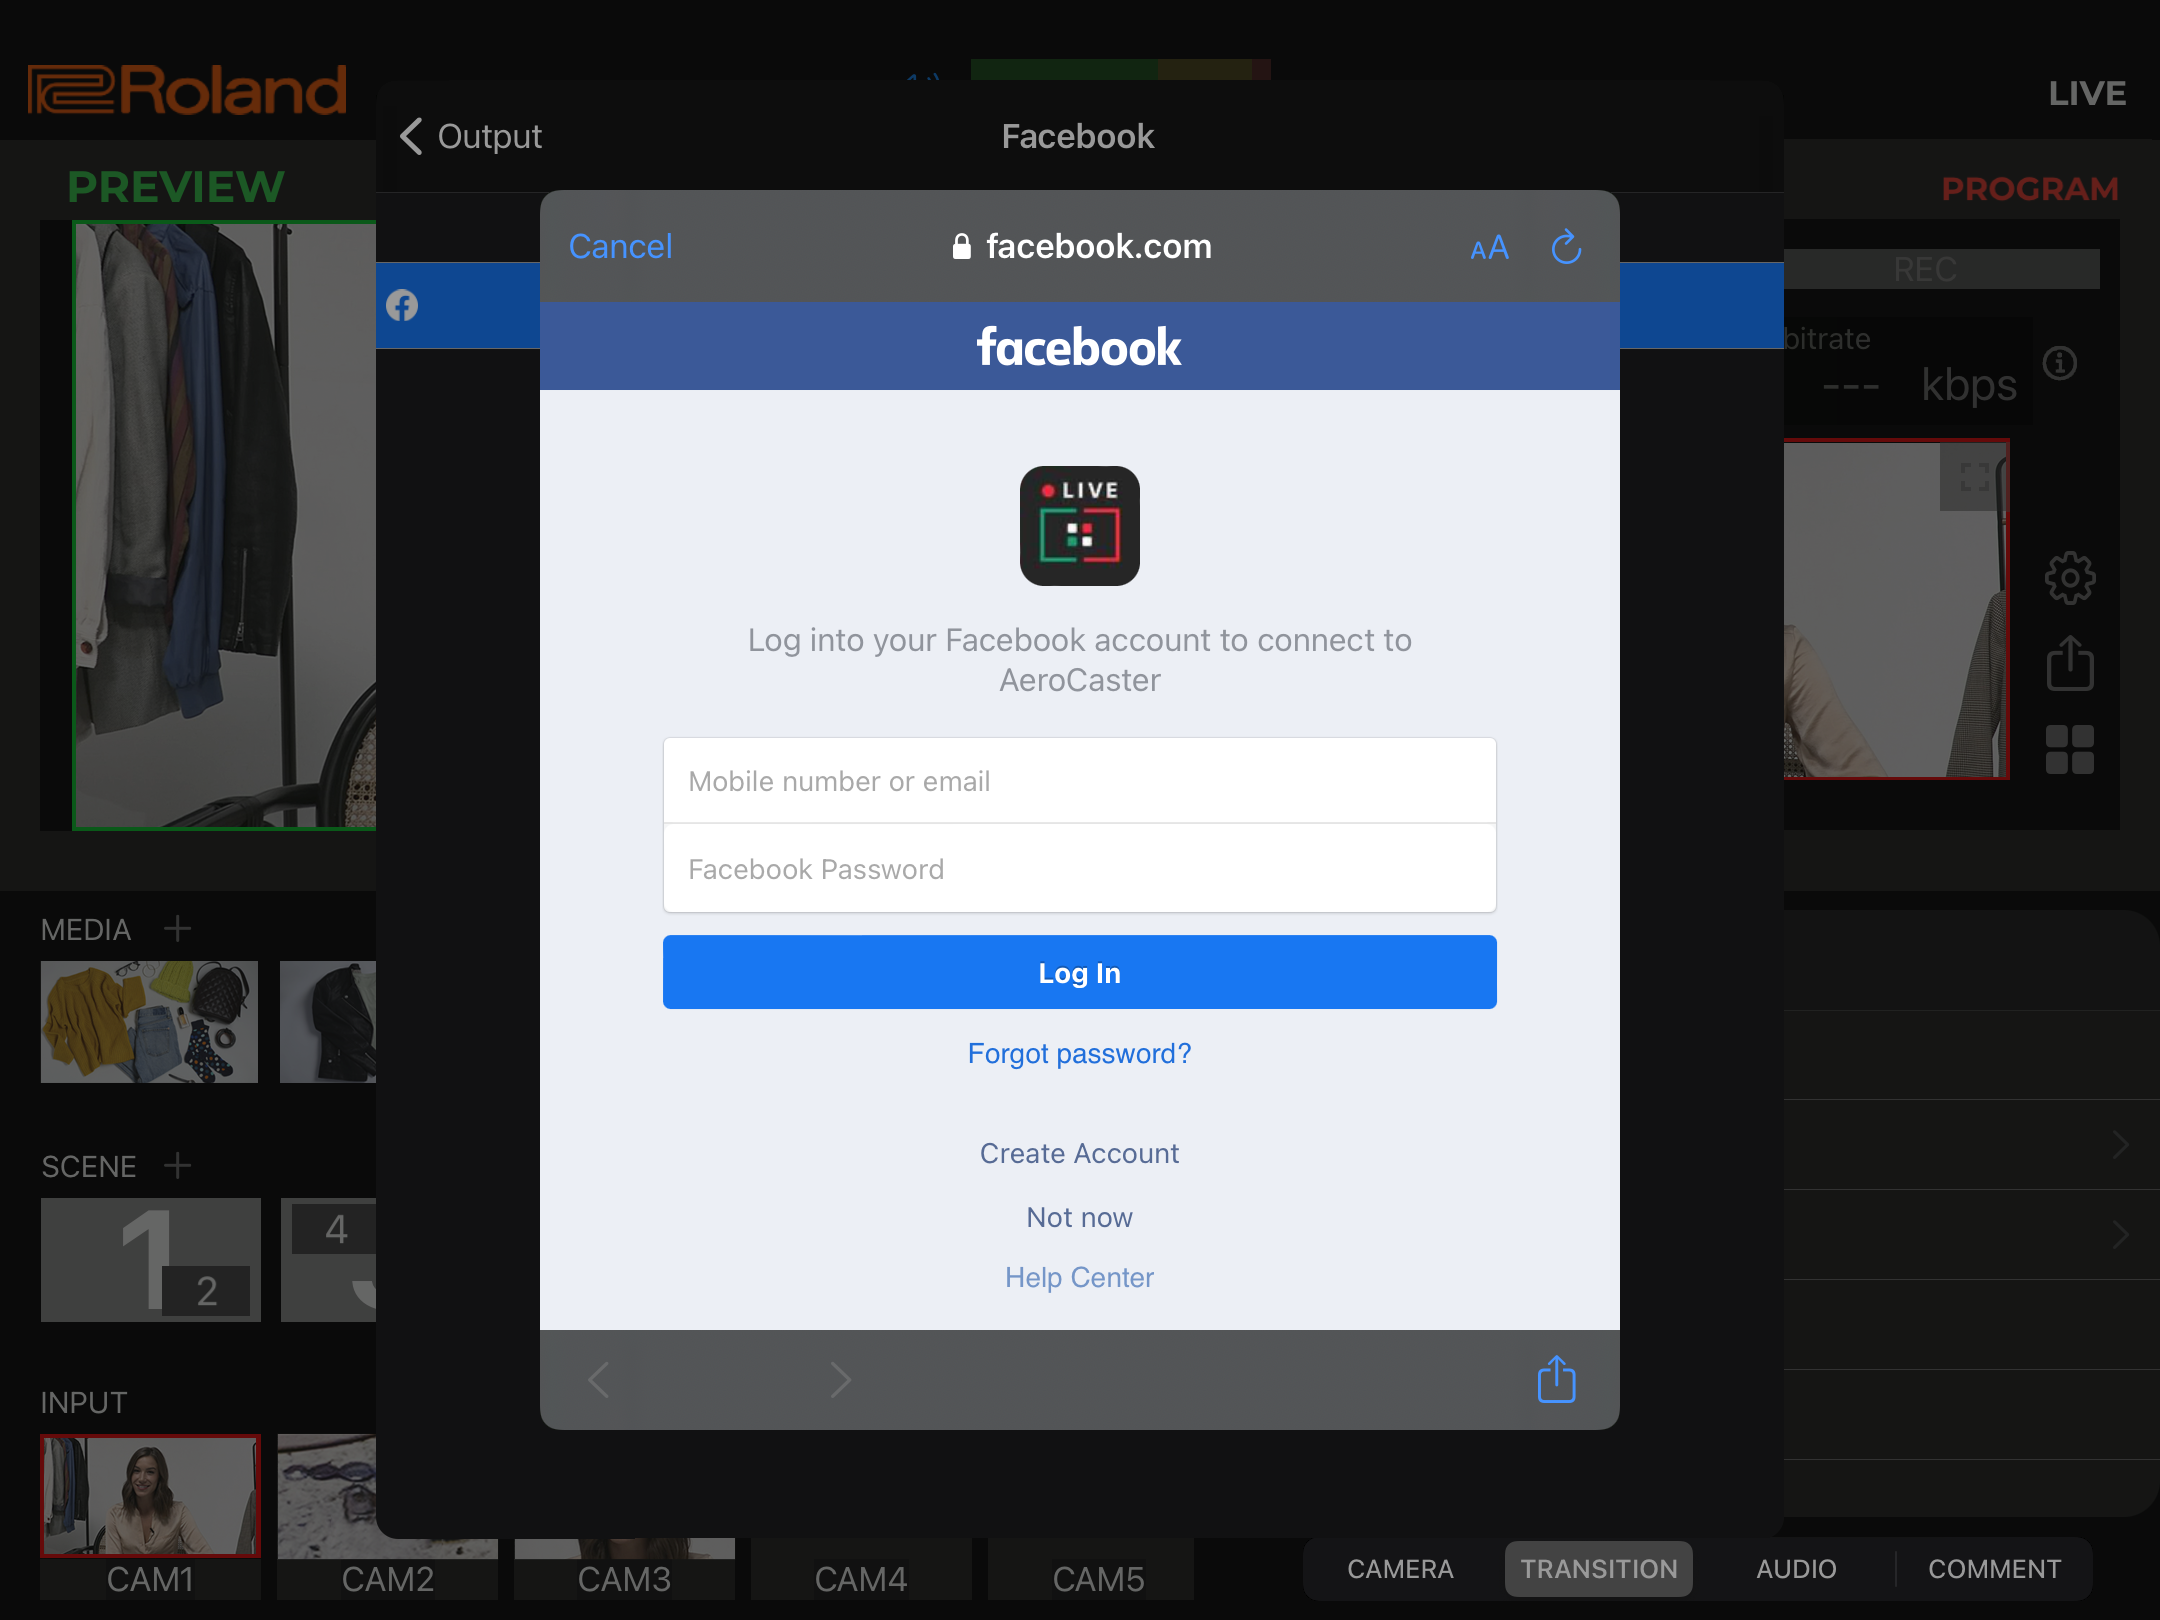
Tap the [Continue as **] button.
Choose the scope, and tap the [OK] button.
This setting only appears the first time you log in. This sets the upper limit of the scope for the AeroCaster LIVE app. For this setting, use “Public” (which includes all users, even those who are not registered with Facebook).
Tap the [Continue] button.
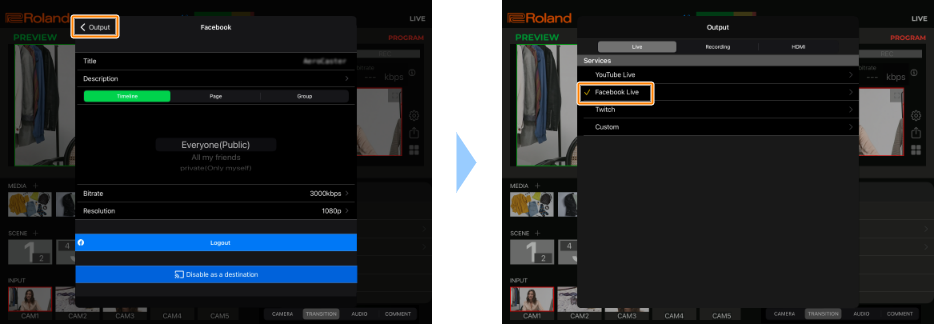
Tap each menu item to edit the settings, and tap “Select as a destination”.
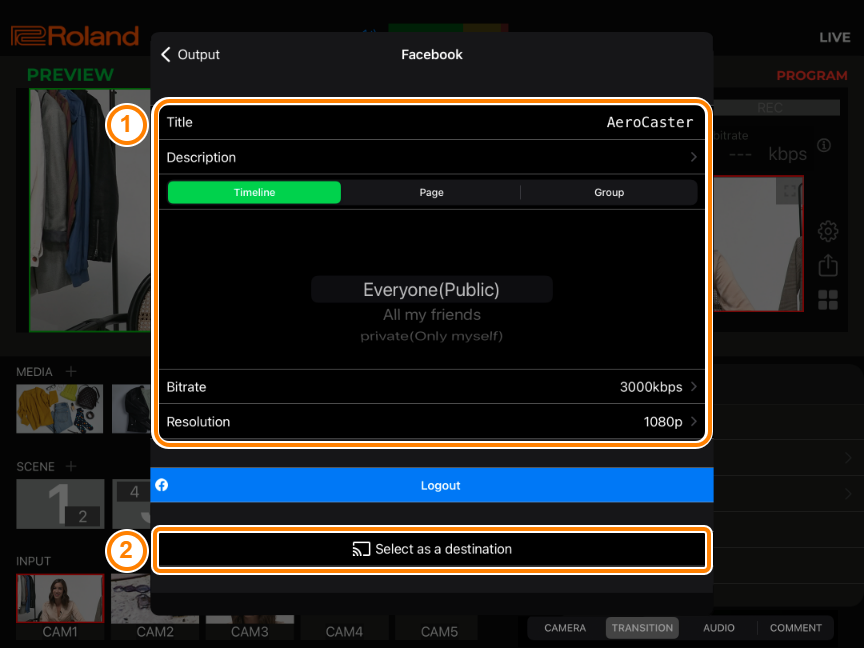
Item Explanation Title Input the title of the livestream. Description Input the description shown on Facebook Live for your content. Destination Sets where to “post” the livestream (meaning who can view the content).
Timeline: The content is streamed to your personal timeline.
Page: The content is streamed to a Facebook page.
Group: The content is streamed to a group.
Custom destination (privacy) settings Configures the privacy settings according to the audience.
Destination Explanation Timeline Selects the privacy settings (the scope of release) for the livestream.
Everyone (Public): Anyone can view the livestream.
All my Friends: Only friends can view the livestream.
Private (Only myself): The livestream is only visible to you.
Page Selects a page that you manage. Group Selects a group that you manage. Bitrate Sets the bit rate (how much data is transmitted per second) of the video.
Higher bit rates offer better livestream video quality.
However, raising the bit rate too much uses significantly more data, which may cause the livestream to become choppy or cause problems with image quality.
- See the official Facebook website for the recommended bit rate to use when livestreaming via Facebook Live.
Resolution Sets the resolution of the livestreamed video.
1080p: 1920 x 1080 (full HD)
720p: 1280 x 720 (HD)
Tap “< Output” and make sure that the “Facebook Live” check box is selected.
Tap anywhere outside of the Output menu, or swipe down on the Output menu to close.
Now you’ve finished configuring the livestream settings.
Tap the
 (livestreaming) button or press the [ON AIR] button on the VRC-01.
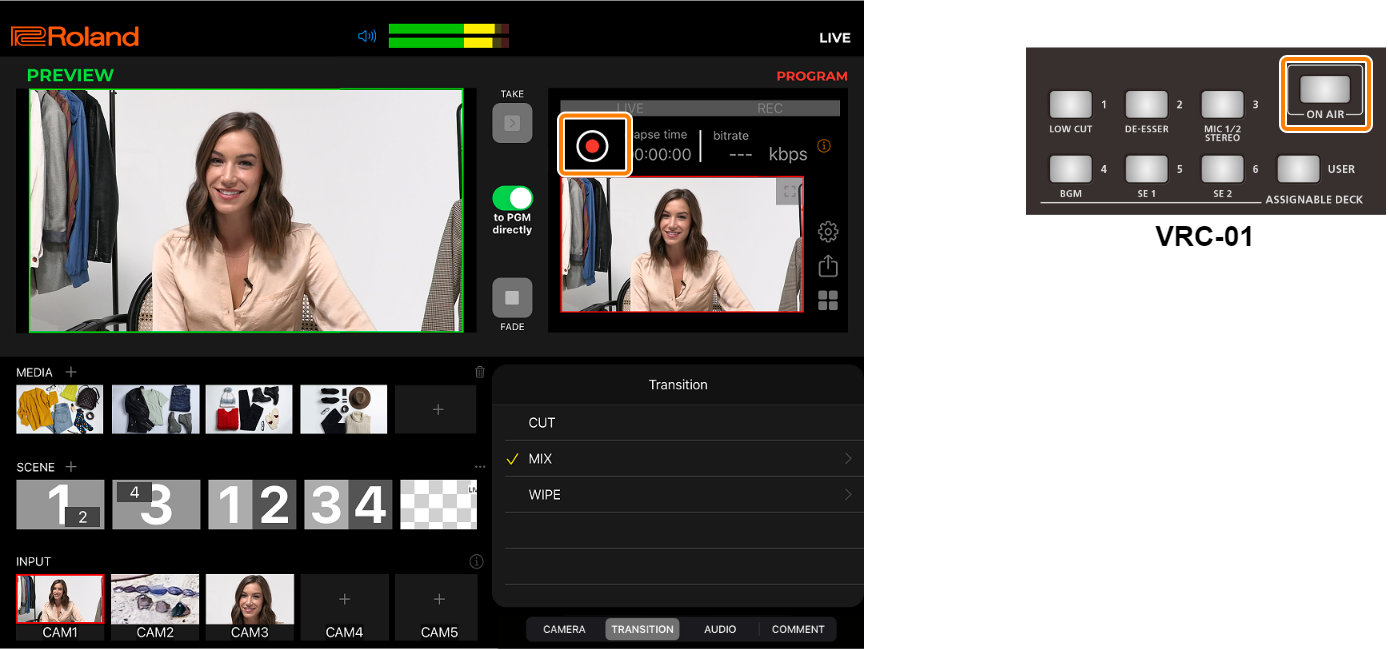
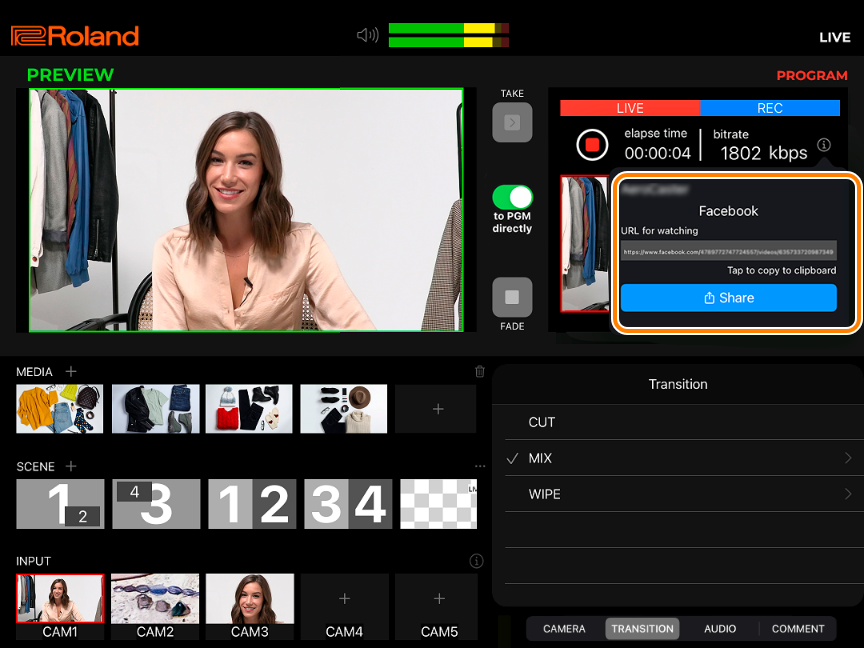
The livestream begins, and the preview link is shown. You can tap the link area to copy the URL.
- Tap anywhere outside of the popover to close the preview link. Tap the
 (information icon) to the right of the bit rate to show the livestreaming preview link again.
When “Enable Record” is on, recording begins automatically as the livestream starts.
- Tap anywhere outside of the popover to close the preview link. Tap the
To stop the livestream, tap the
 (livestreaming) button or press the [ON AIR] button on the VRC-01.
Tap “Stop” in the confirmation dialog box.
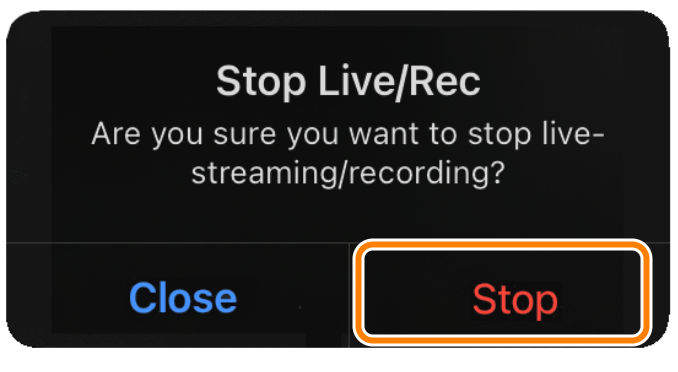
The livestream ends.