You can remove the faceplate of this unit when you want to customize the top panel.
|
|

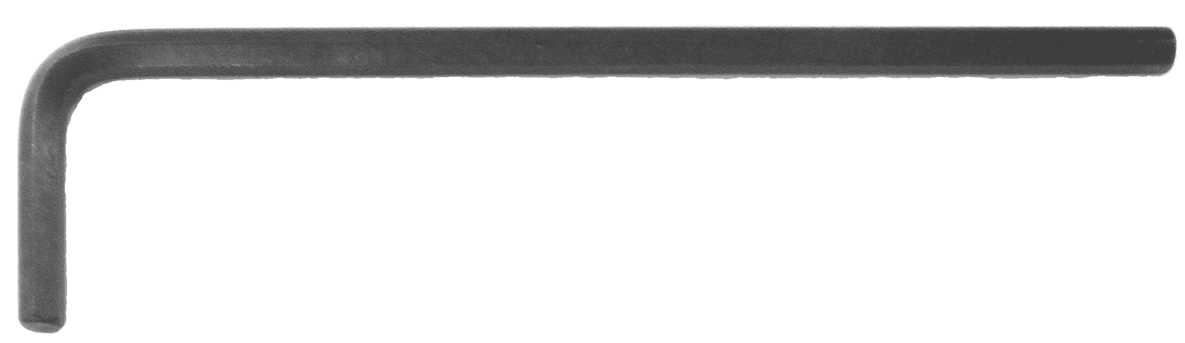
What you’ll needHex wrench (1.5 mm, commercially available)
|
Removing the faceplate
Use a commercially available hex wrench to remove the two screws on the left side of this unit.
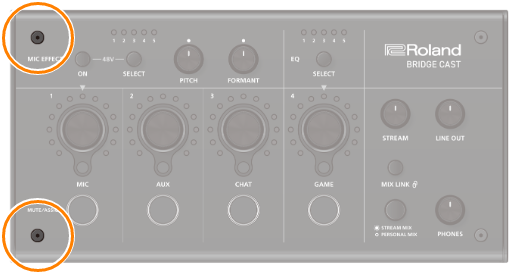
- Remove the two screws on the right side of this unit.
- Remove the faceplate.
Attaching the faceplate
Follow the steps from above in reverse order when attaching the faceplate.
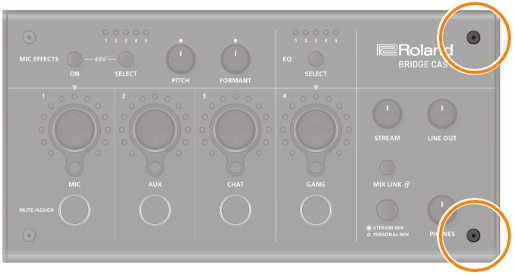
- Place the faceplate on top on this unit.
- Make sure that all of the buttons and indicators are protruding and visible from the holes in the faceplate.
Use a commercially available hex wrench to firmly tighten the two screws on the right side of this unit, and then the two screws on the left side.
- Don’t overtightening the screws, as this may damage the screw holes.