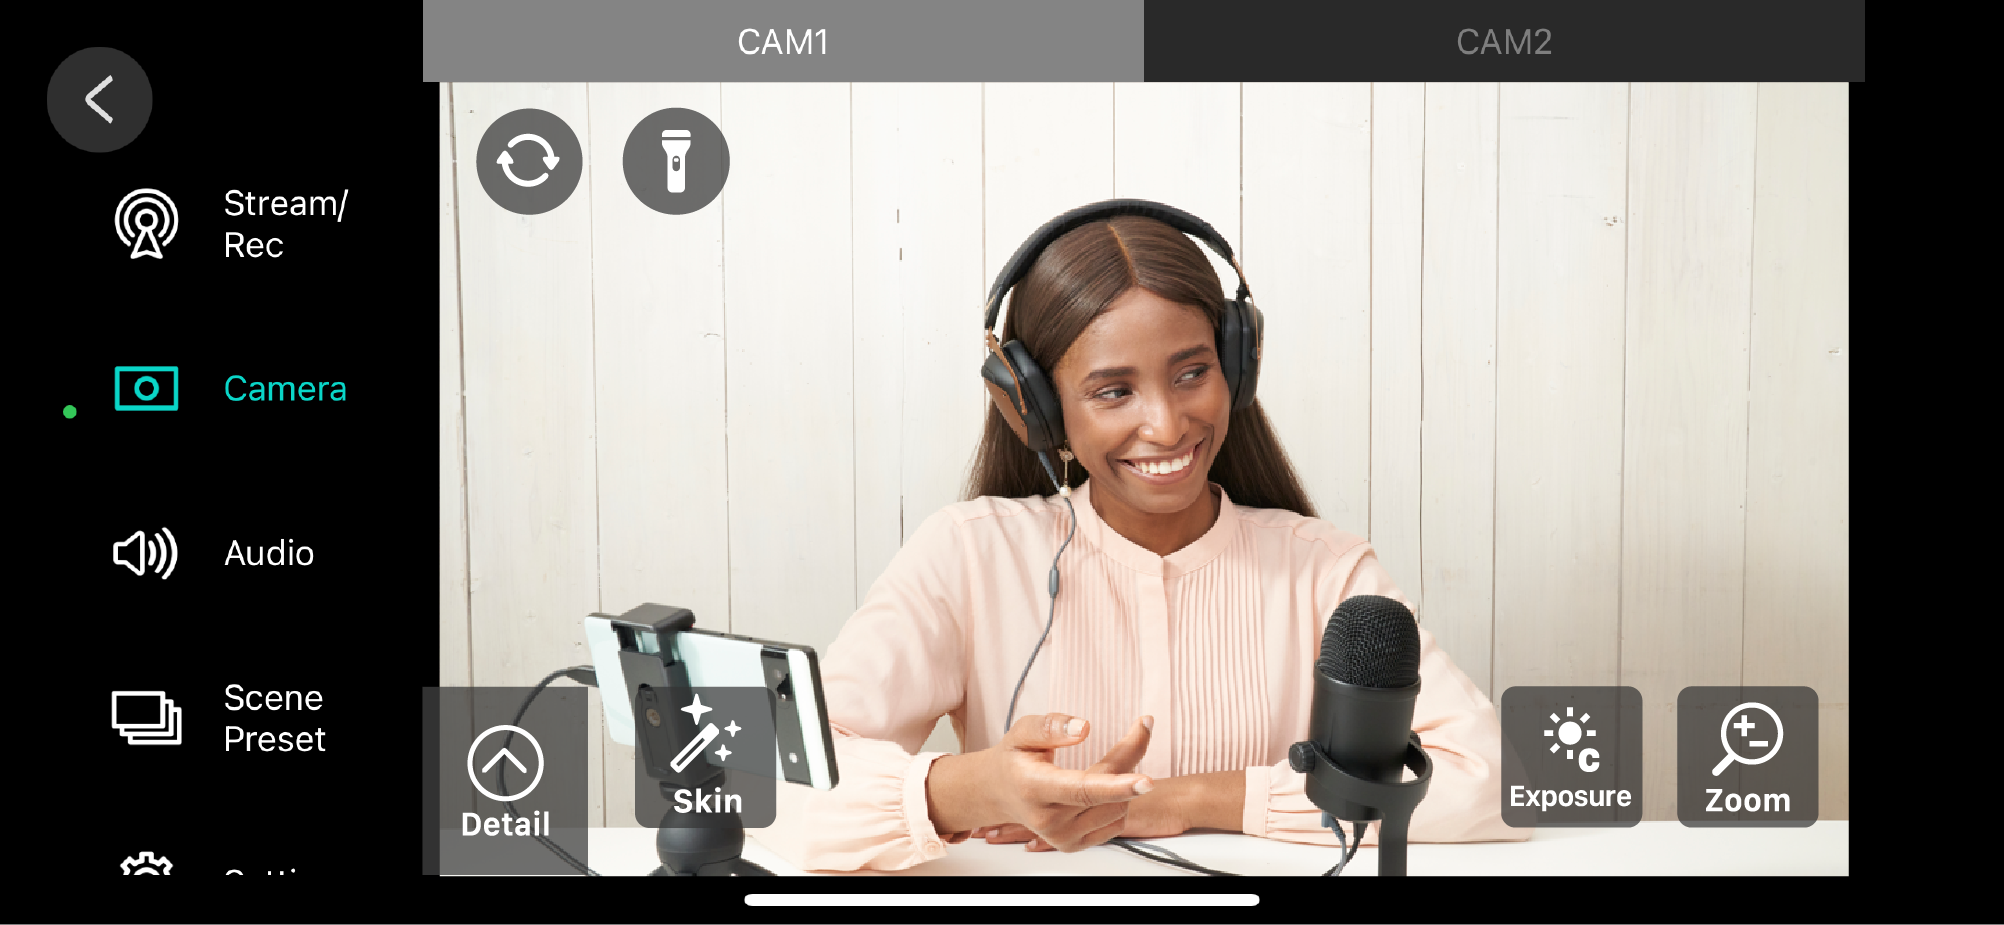
You can adjust the video image from the smartphone or satellite camera you’re using for livestreaming, as you like.
- Follow the instructions in “Adding your camera’s video to a scene” and “Adding a video capture from a satellite camera to a scene” to add the camera video to a scene.
- Tap the menu button on the main screen.
Tap the “Camera” menu.

Tap the respective icon to edit the settings.
Item
Icon display
Explanation
Zoom

Sets the zoom factor.
Exposure

Sets the exposure.
Tap this icon to select the exposure mode.
The text inside of the icon changes along with the exposure mode.
[Continuous]: Adjusts the exposure continuously according to the video image (“C” is shown as the icon).
[Manual]: Lets you set the exposure manually (“M” is shown as the icon).
Skin

Uses a skin beautifying filter.
This function is only possible with the iOS app.
Detail 
Configures the input video from the camera in detail.
The Detail parameters are shown below.
Item
Explanation
Stabilization
Sets the stabilization. - When using stabilization on an iOS device, the video image is streamed with a slight delay.
Mirror
When this is on, the video image input from the camera is flipped horizontally (a mirror image).
When the mirror effect is off and you use the front camera (the camera on the display side of the smartphone), the person streaming the content moves in the opposite direction to that of the displayed video image, which could be confusing.
When the mirror effect is on, the video appears as if it were looking into a mirror, which should seem less confusing.
Note that any text that may be captured by the camera when the mirror effect is on is also displayed inverted.
Exposure
Sets the exposure mode.
You can make this setting in greater detail than with the exposure settings in the Camera menu, and you can specify a fixed exposure value.
[Auto-Lock] (*): After the exposure is automatically set, the exposure is set to a fixed value (locked) (
 is shown on top of the icon).
[Continuous]: Adjusts the exposure continuously according to the video image (“C” is shown as the icon).
[Manual]: Lets you set the exposure manually (“M” is shown as the icon).
[Lock]: Sets (locks) the exposure to a fixed value.
This function works for the cameras built into iOS devices.
White Balance
Sets the white balance.
This lets you shoot videos using natural colors according to the ambient lighting (including the weather and type of lighting used).
If manual mode is selected, you can set the color temperature and hue.
Focus
Sets the focus. Tap the [ç] button.
This closes the menu screen.