With this method, you use a program that you’ve created in YouTube Studio for the livestream.
- Tap the menu button on the main screen.
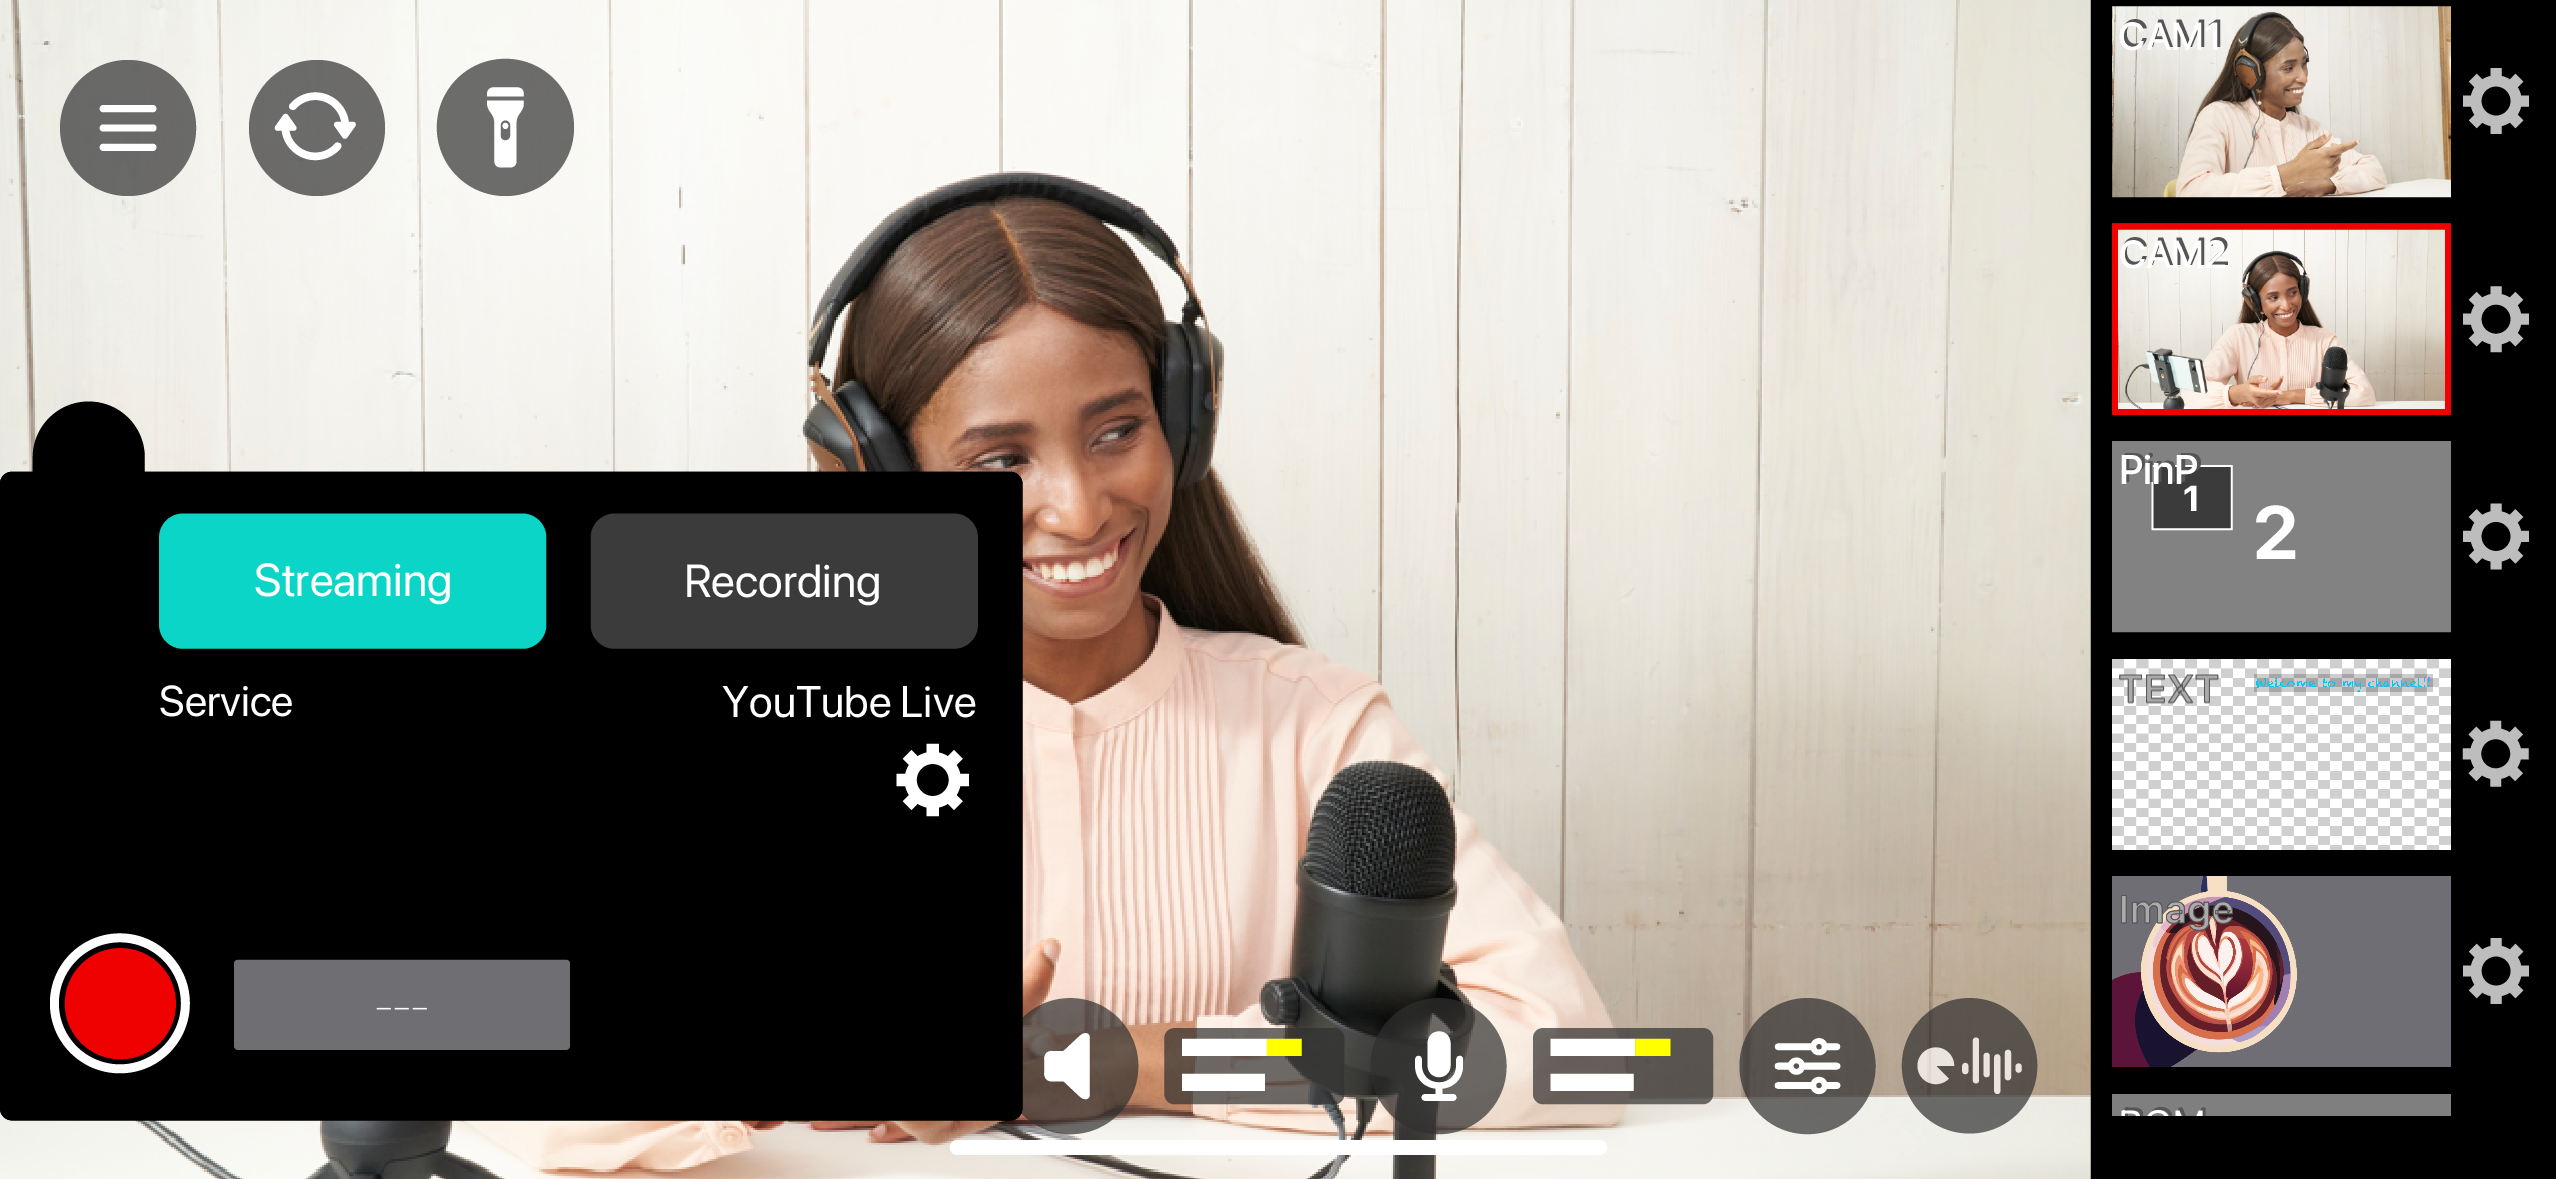
Tap the “Stream/Rec” menu.

- From the list of “Streaming Service”, tap “YouTube Live”.
Tap “Sign in with YouTube”.
If a confirmation dialog box for sign-in appears, tap “Continue”.

Log in with your Google account.
Tap the “Continue” button in the access confirmation screen for the account.
This completes the Google account settings.
Tap the [Existing broadcast] tab.
The program data that was created in YouTube Studio is loaded, and “Select your broadcast” is shown in the Title field.
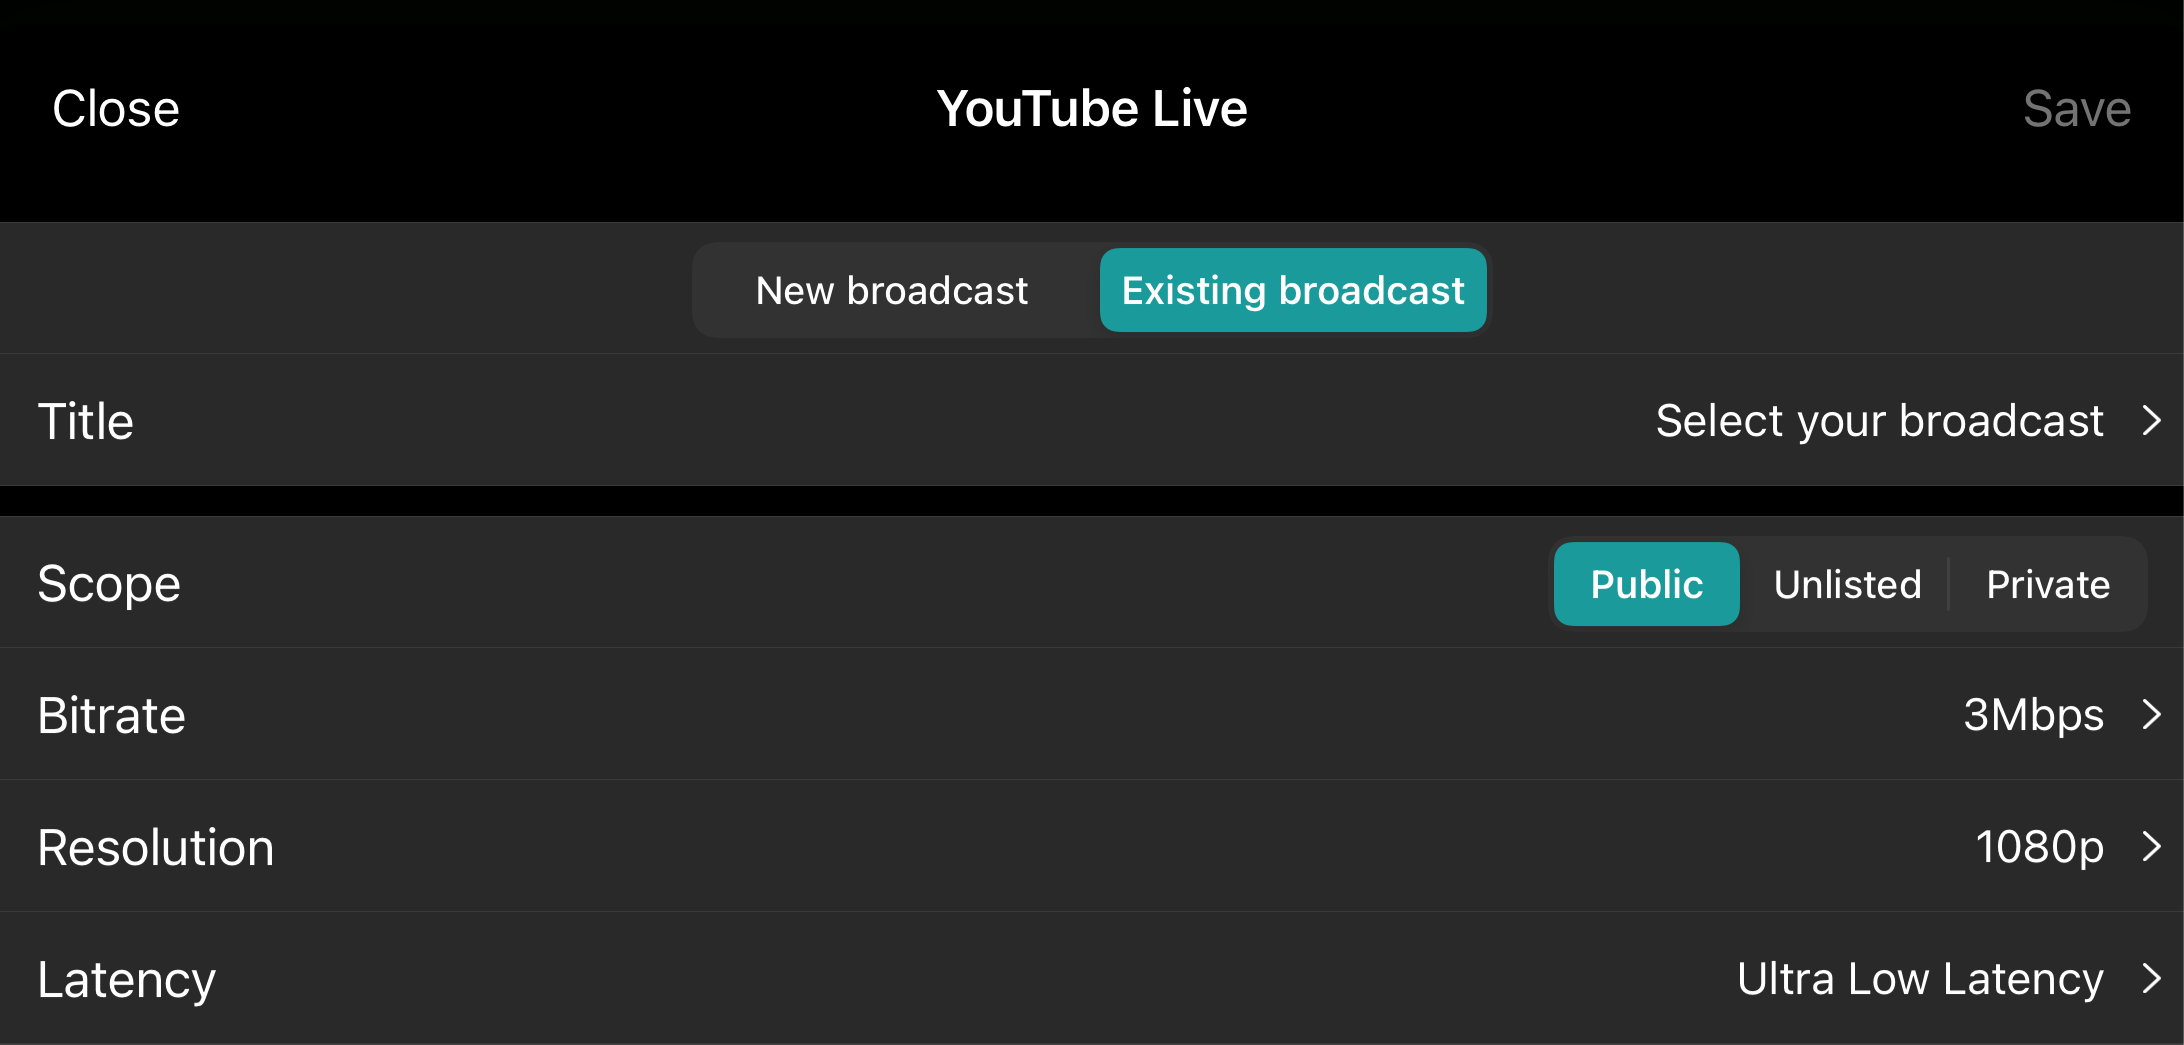
If the program is selected, the program title is shown.
If the message “No broadcast” is shown, the correct program data has not been loaded.
Tap the [Close] button and tap “YouTube Live” again in the “Streaming Service” list to reload the program data.
Tap the Title field and tap the program to stream in the list.
Tap the items in each menu to edit the settings.
Item
Explanation
Scope
This sets the privacy settings (the scope of release) for the livestream.
Public
Anyone can search for the livestream program title and view the program.
Unlisted
Only those who access the livestream program via the program link can view the program.
Private
Only the person streaming the program can view it.
Bitrate
Sets the video bitrate (how much data is transmitted per second).
You can increase the bitrate for better livestream video quality.
Note that if you raise the bitrate too much, the livestream may stop or the video image may be unstable, depending on your network connection speed and traffic.
See Google’s official YouTube Help website and other sources for the recommended bitrate to use when livestreaming via YouTube Live.
Resolution
Sets the resolution of the livestreamed video.
This function is only possible with the iOS app.
1080p
1920 × 1080 pixels (full HD)
720p
1280 × 720 pixels (HD)
Latency
This sets the degree of latency for the livestream.
The degree of latency indicates how long it takes for the streamed content (video or audio) to appear or be played back on the streaming destination (the viewer’s) device.
Lowering the latency makes the delay shorter before the video appears on the viewer's device, which lets the person streaming the content interact with the viewers in real time.
Note that lower latency settings may cause the video that’s shown on the viewer’s device to become unstable.
If you don’t need to stream content in real time, we recommend that you set this to “Normal Latency”. (Long latency times do not cause any problems.)
For details on latency settings, see Google’s official YouTube Help website and other sources.
Normal Latency
A streaming setting that prioritizes video quality.
Although there is a time lag before the contents are shown on the viewer’s device, the video quality is stable.
Low Latency
A streaming setting that offers a good balance between video quality and real-time interactivity.
Low Latency
A streaming setting that emphasizes real-time interaction.
The video may become unstable, depending on the network status and the viewer’s operating environment.
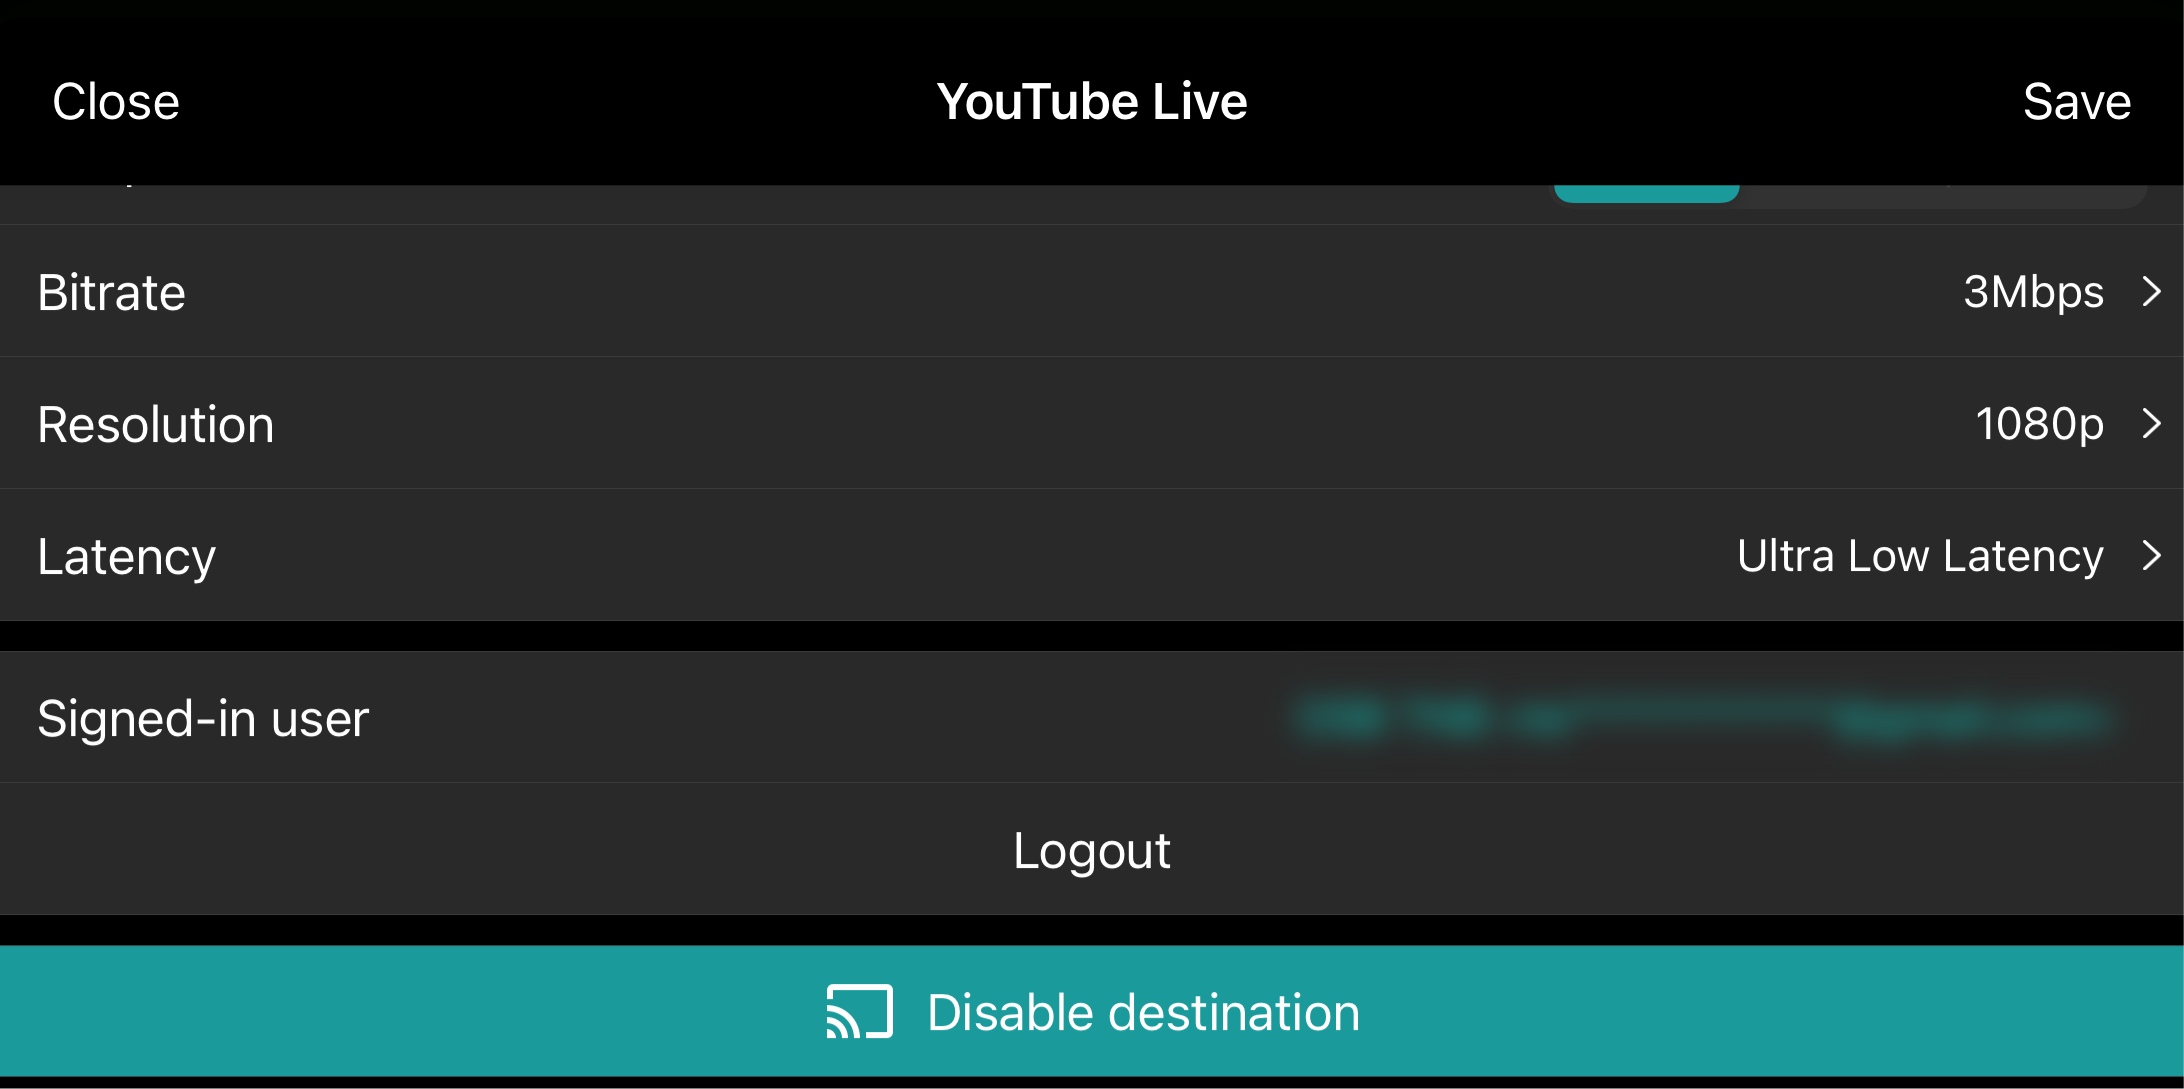
Tap the [Select as a destination] button at the bottom of the settings screen.
The streaming destination is set according to your settings.
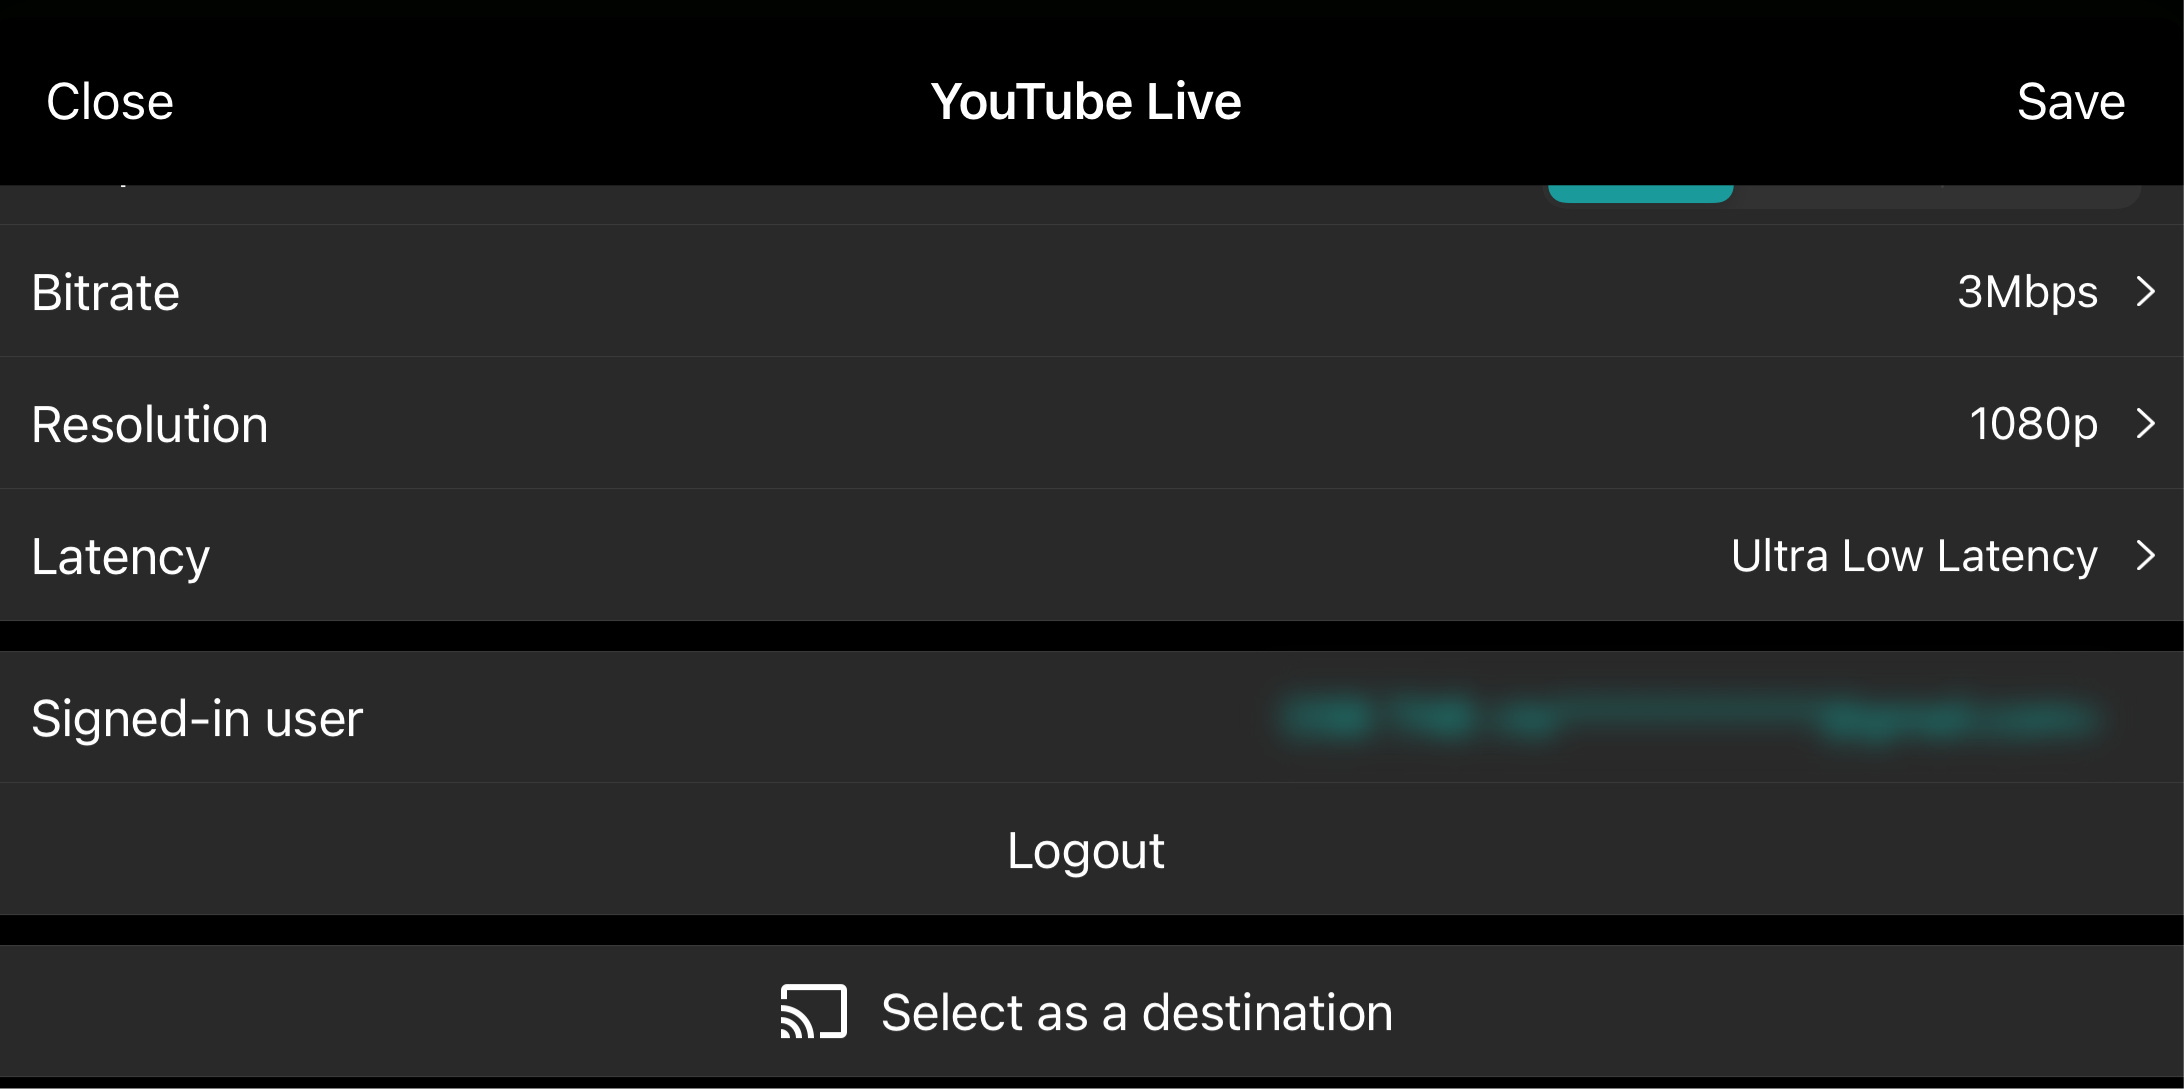
The [Select as a destination] button changes to “Disable destination”.
Tap “Save”.
Check whether “YouTube Live” is selected with a check mark in the “Streaming Service” list.
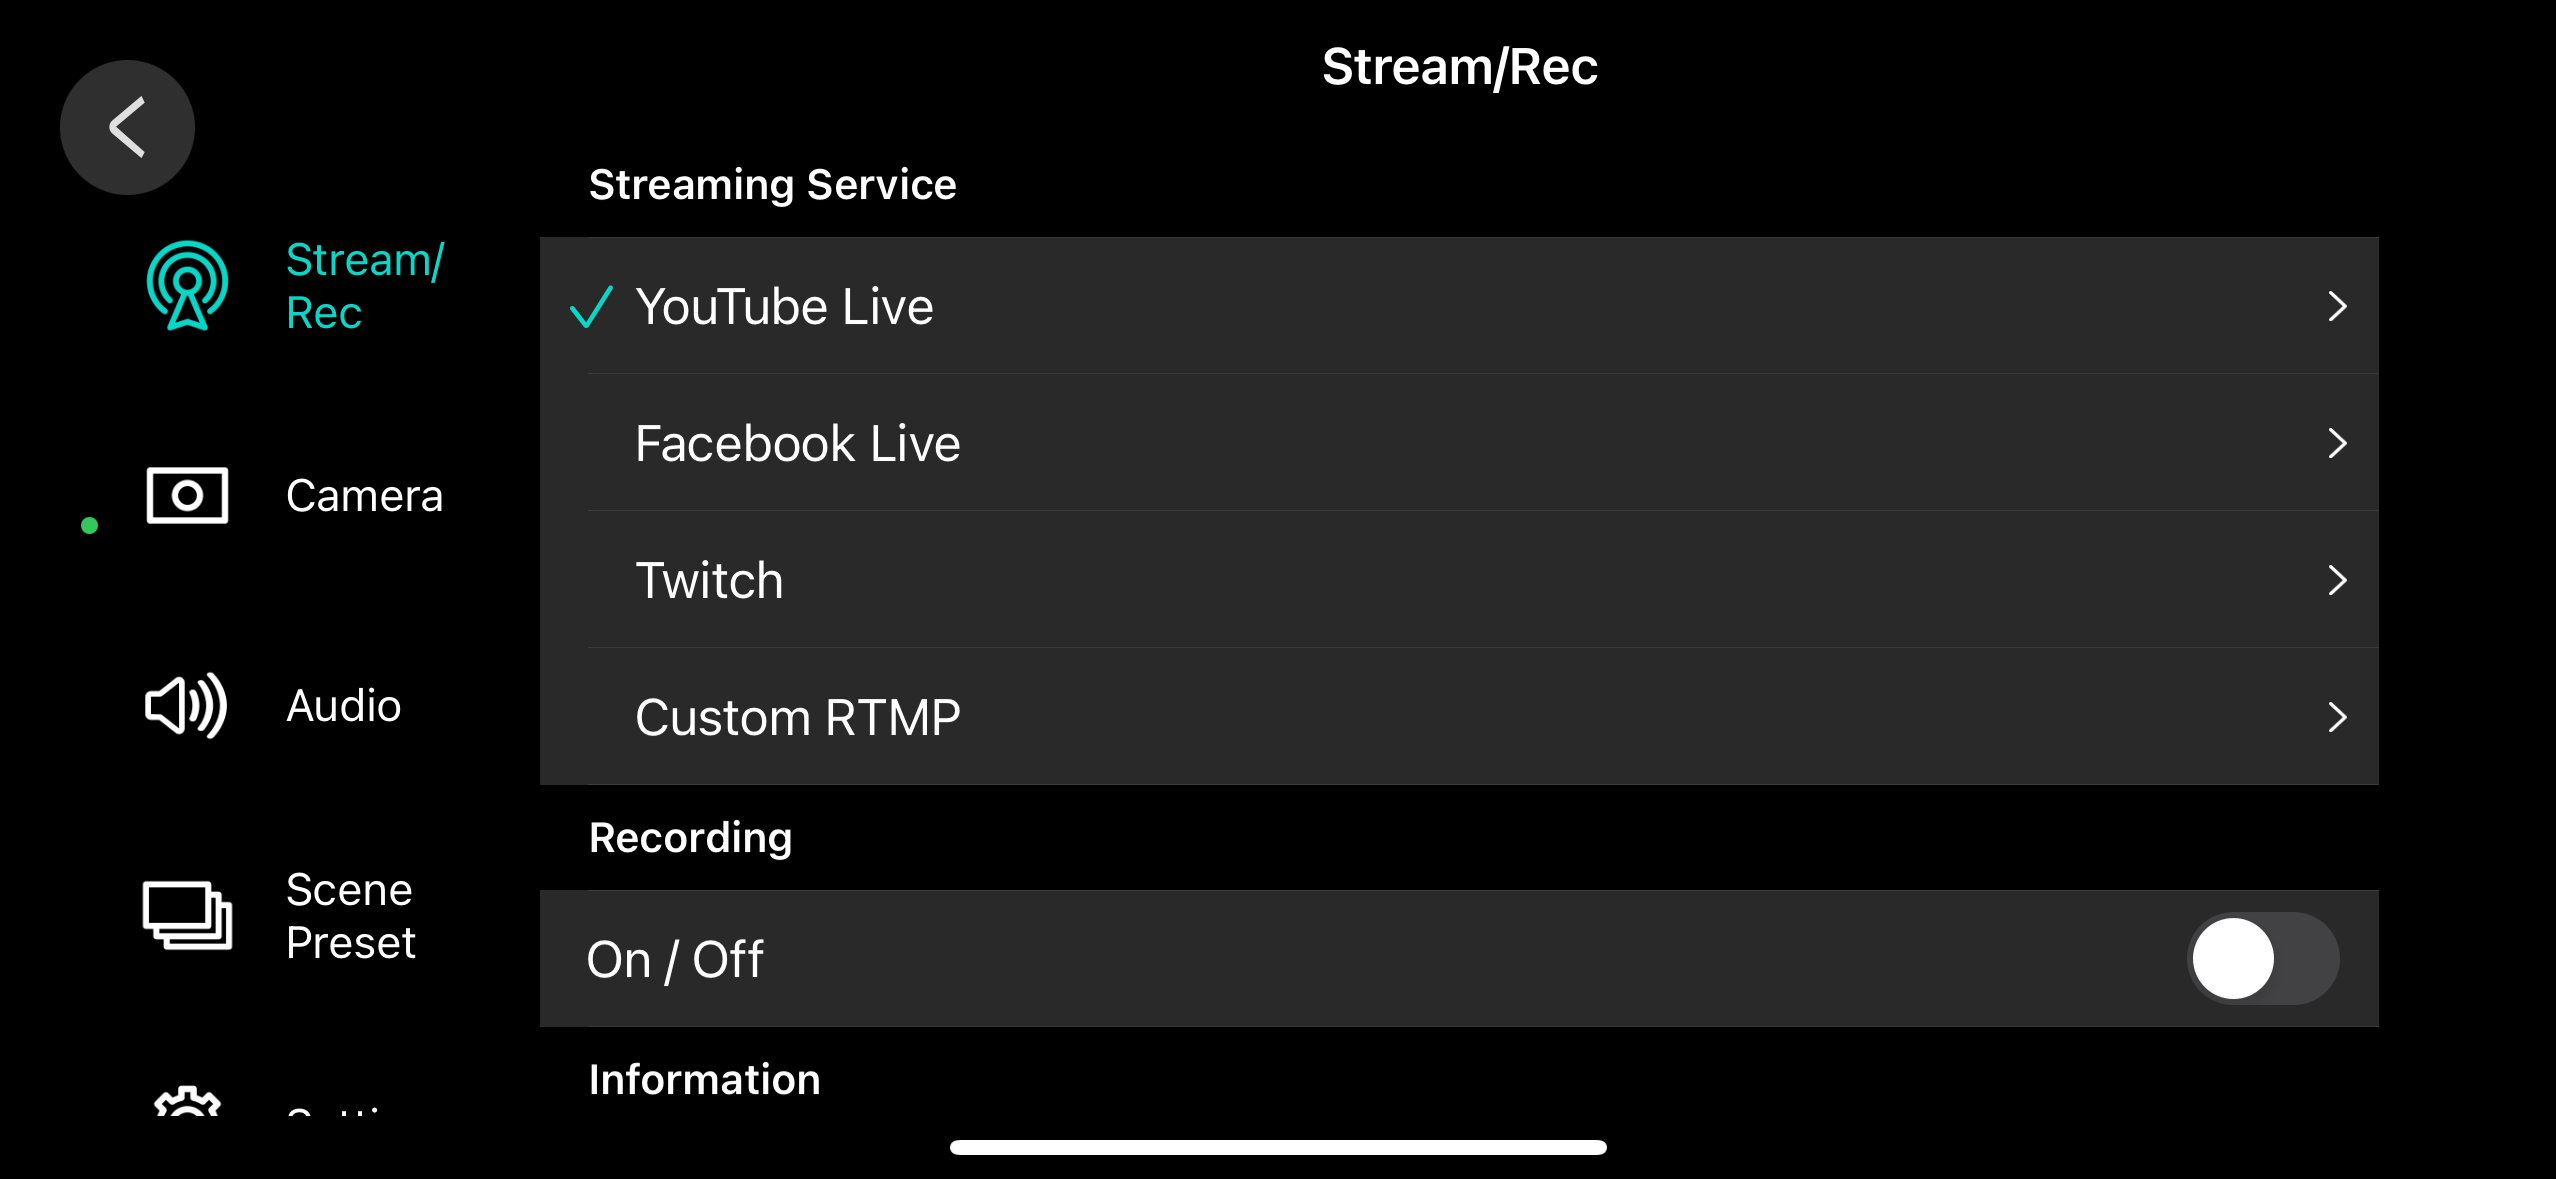
If it isn’t selected, another platform may have been set as the streaming destination, or recording may have been enabled.
If recording is enabled, disable recording first and then set the streaming destination.
Tap the [ç] button.
This closes the menu screen.
Now you’ve finished configuring the livestream settings.
Tap the [ó] (stream/record) button.
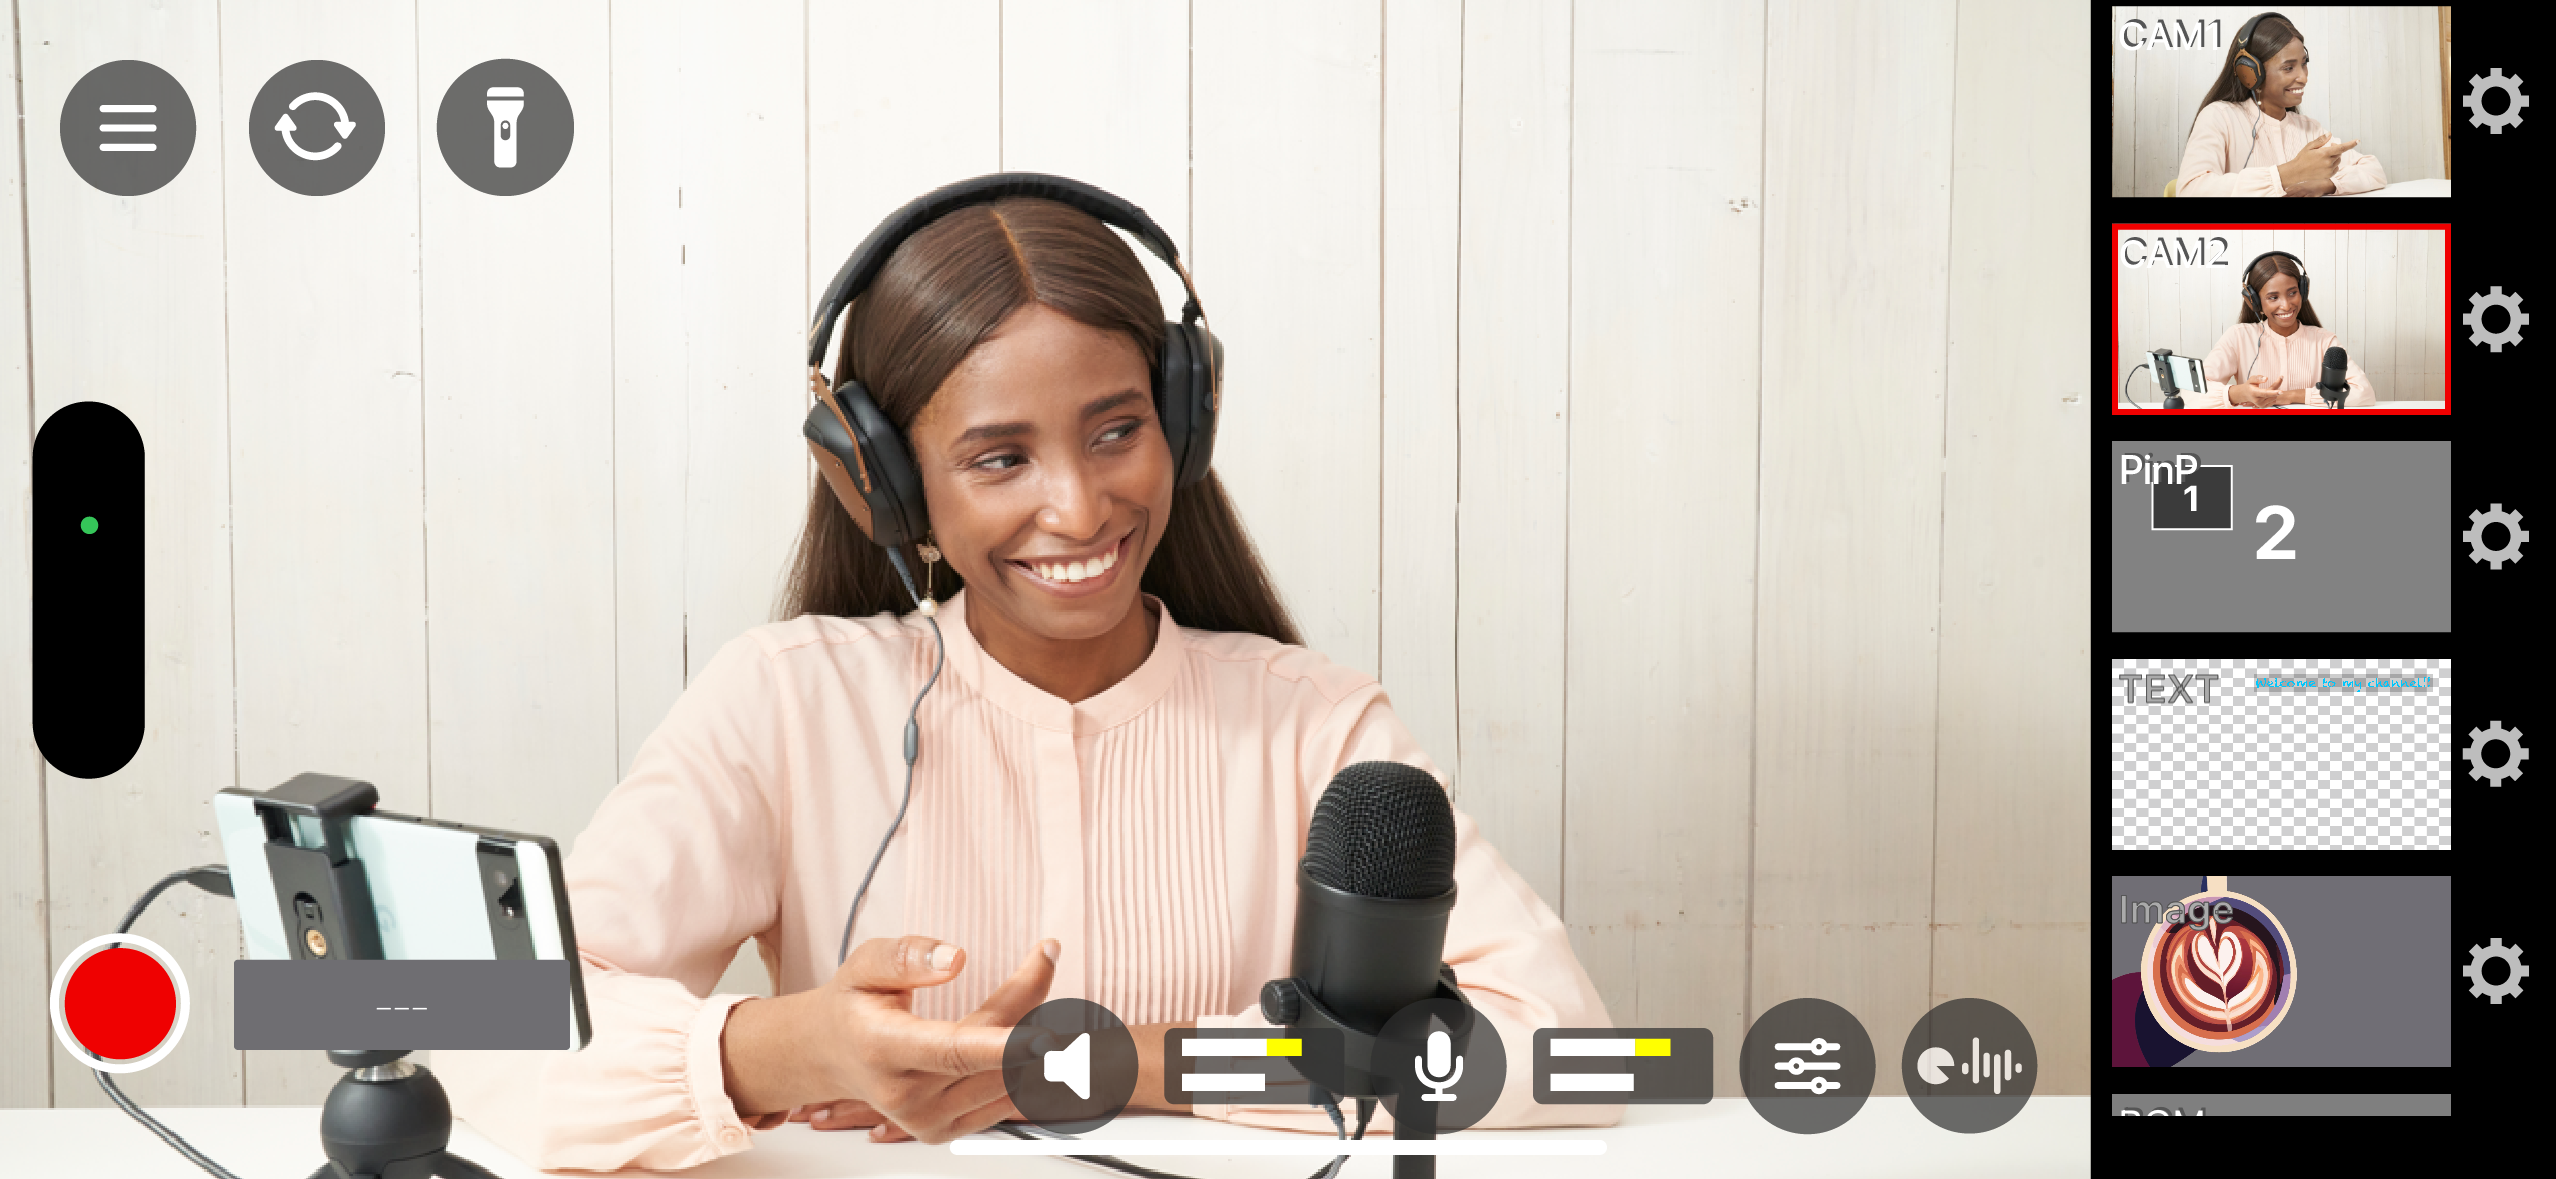
Check whether the livestream destination is set to “YouTube Live”, and tap the [ó] (stream/record) button again.
Livestreaming begins.
To stop livestreaming, tap the [ð] (stream/record) button.
A confirmation dialog box appears.
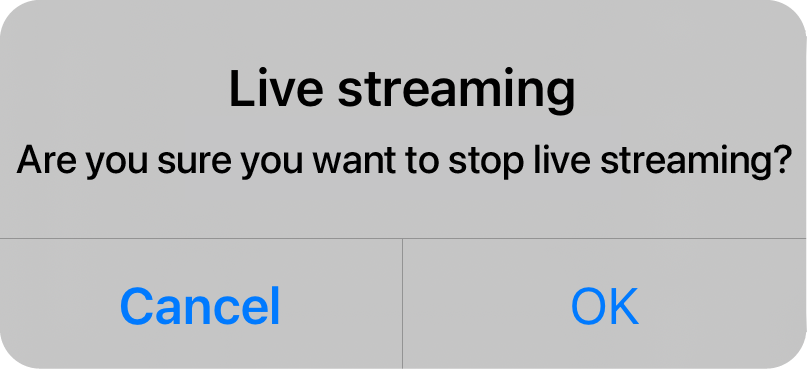
Tap the [OK] button.
This ends the livestream.