You can import the image files (BMP) from a USB flash drive into the SPD-SX PRO and make them display in the LCD when the screen saver starts.
On your computer or similar device, copy the image file (BMP) you want to import into the “IMAGE” folder of your USB flash drive.
Connect a USB flash drive to the SPD-SX PRO.
On the SCREEN SAVER screen, press the [F5] (IMPORT) button.
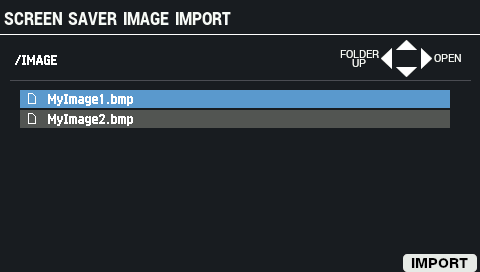
The SCREEN SAVER IMAGE IMPORT screen appears.
Button
Explanation
Cursor [à] [á] button
Moves the cursor.
Cursor [ã] [â] buttons
Moves up or down in the folder directory.
[F6] (IMPORT) button
Imports the data.
Press the [F6] (IMPORT) button.
The IMPORT TO window appears.

Use the [-] [+] buttons to set the import destination number.
Parameter
Value
Explanation
Screen Saver Image No. 1–16 Import destination number Button
Explanation
[F4] (EXIT) button
Closes the IMPORT TO window.
[F6] (IMPORT) button
Saves the image.
To execute, press the [F6] (IMPORT) button.
To cancel the operation, press the [F4] (EXIT) button.
|
Points to remember when importing image files
|